By: Ellen Sever
Howdy folks! For this week’s blog, I decided to give you guys some pointers on how to create a custom, natural look for a tank and share our experience with customizing our tank for reference.
So say you just got a new tank and you want to make it nice and pretty for your reptile. There are pre-made background options on the market, but these can either be a little pricey or err on the side of fake (sorry). So another option that will ensure the vision in your head becomes a reality is to do it yourself! Ahh, the old DIY, it can definitely sound daunting as there are plenty of horror stories out there but don’t fret, this one actually isn’t bad.
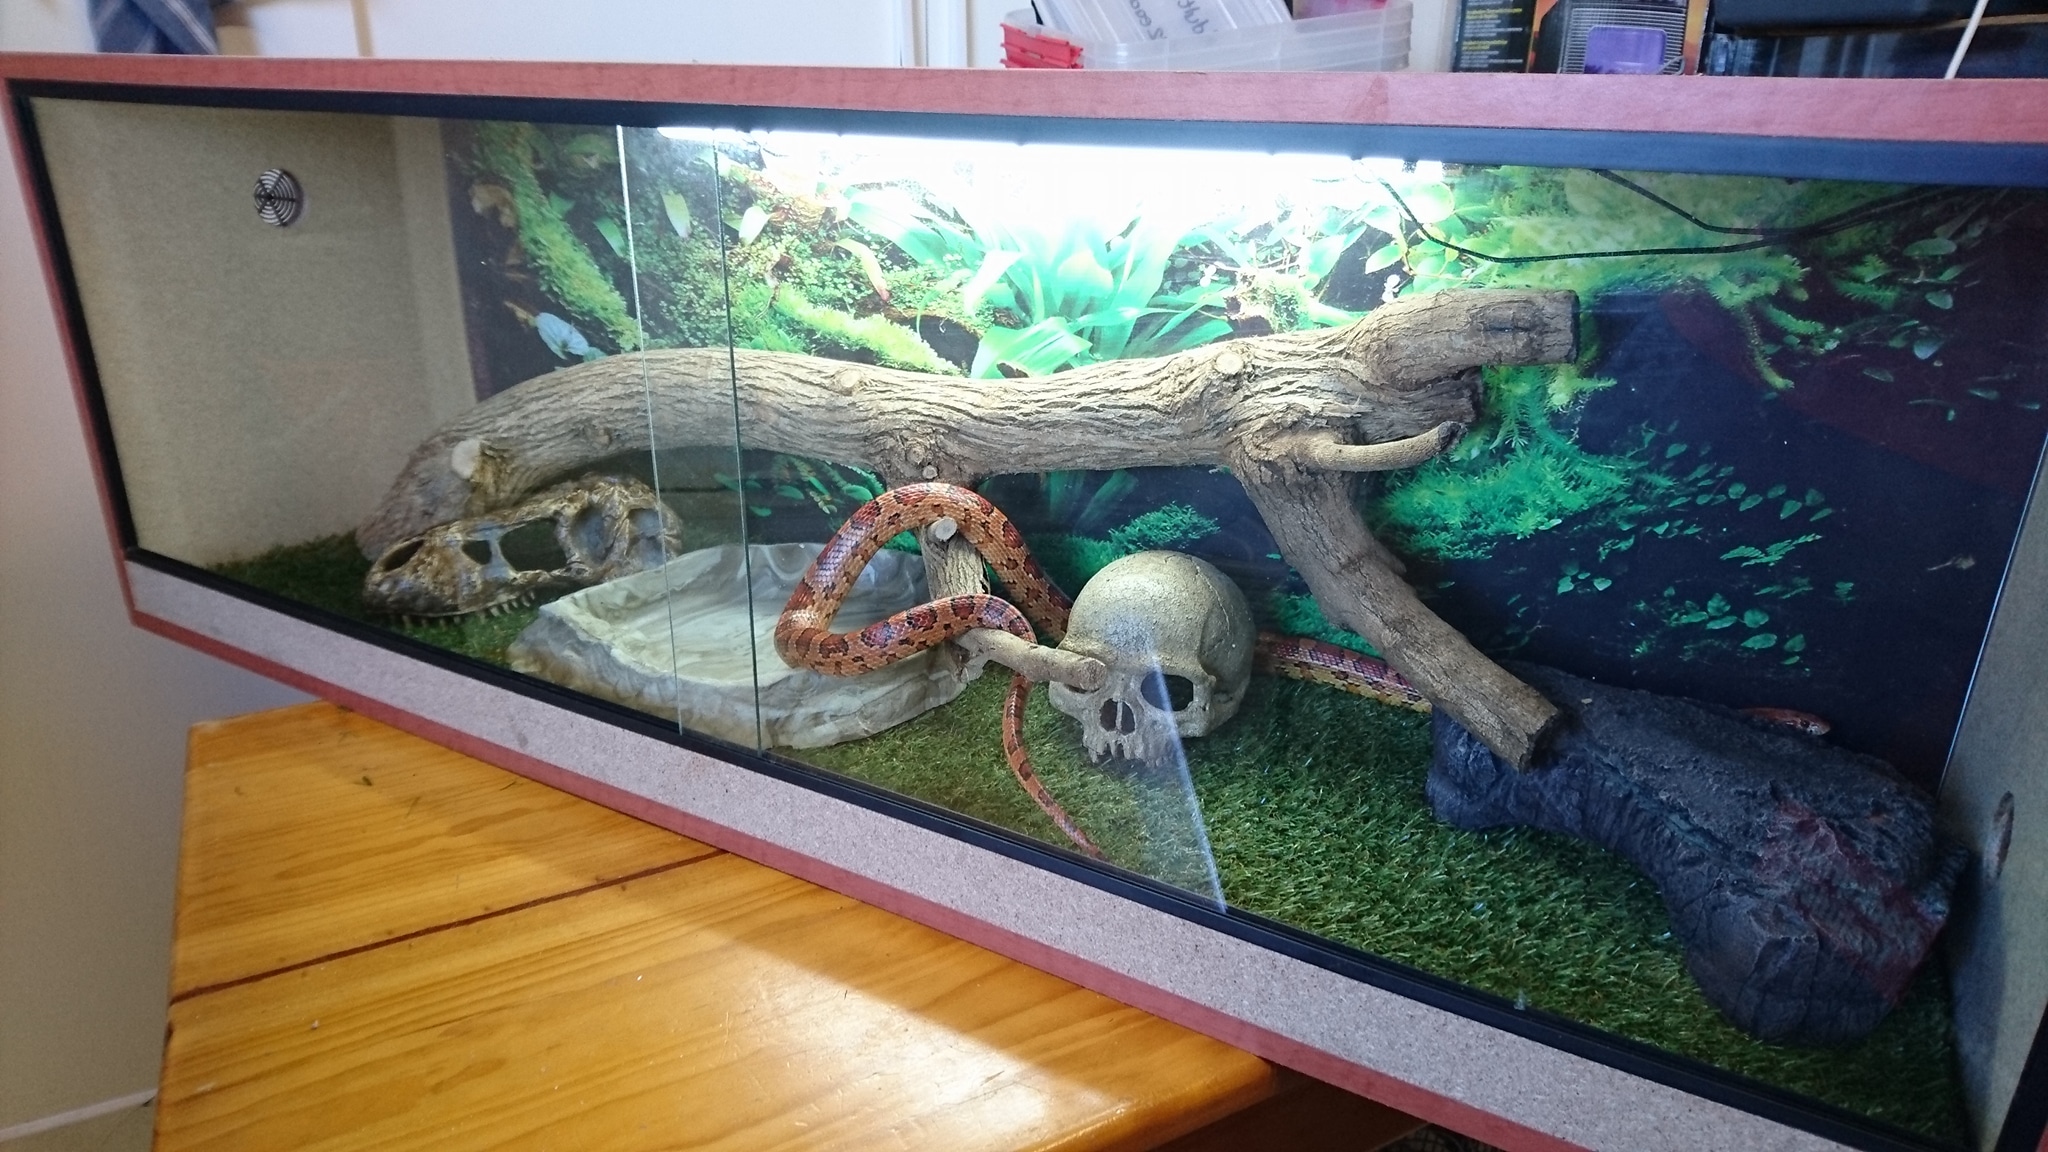
So in our case, we got a super nice 40-gallon tank for cheap off of Facebook marketplace and decided it was going to house a ball python (we didn’t have our snake yet but we had a reptile show in mind where we planned to get him). We also had a bit of an idea in our mind on what we wanted so we decided to do it ourselves. This customization can be done with any size tank, although I imagine it would be easier the bigger it is (you’ll get why later). So without further ado, I’ll jump right in!
Step 1: Find your vision
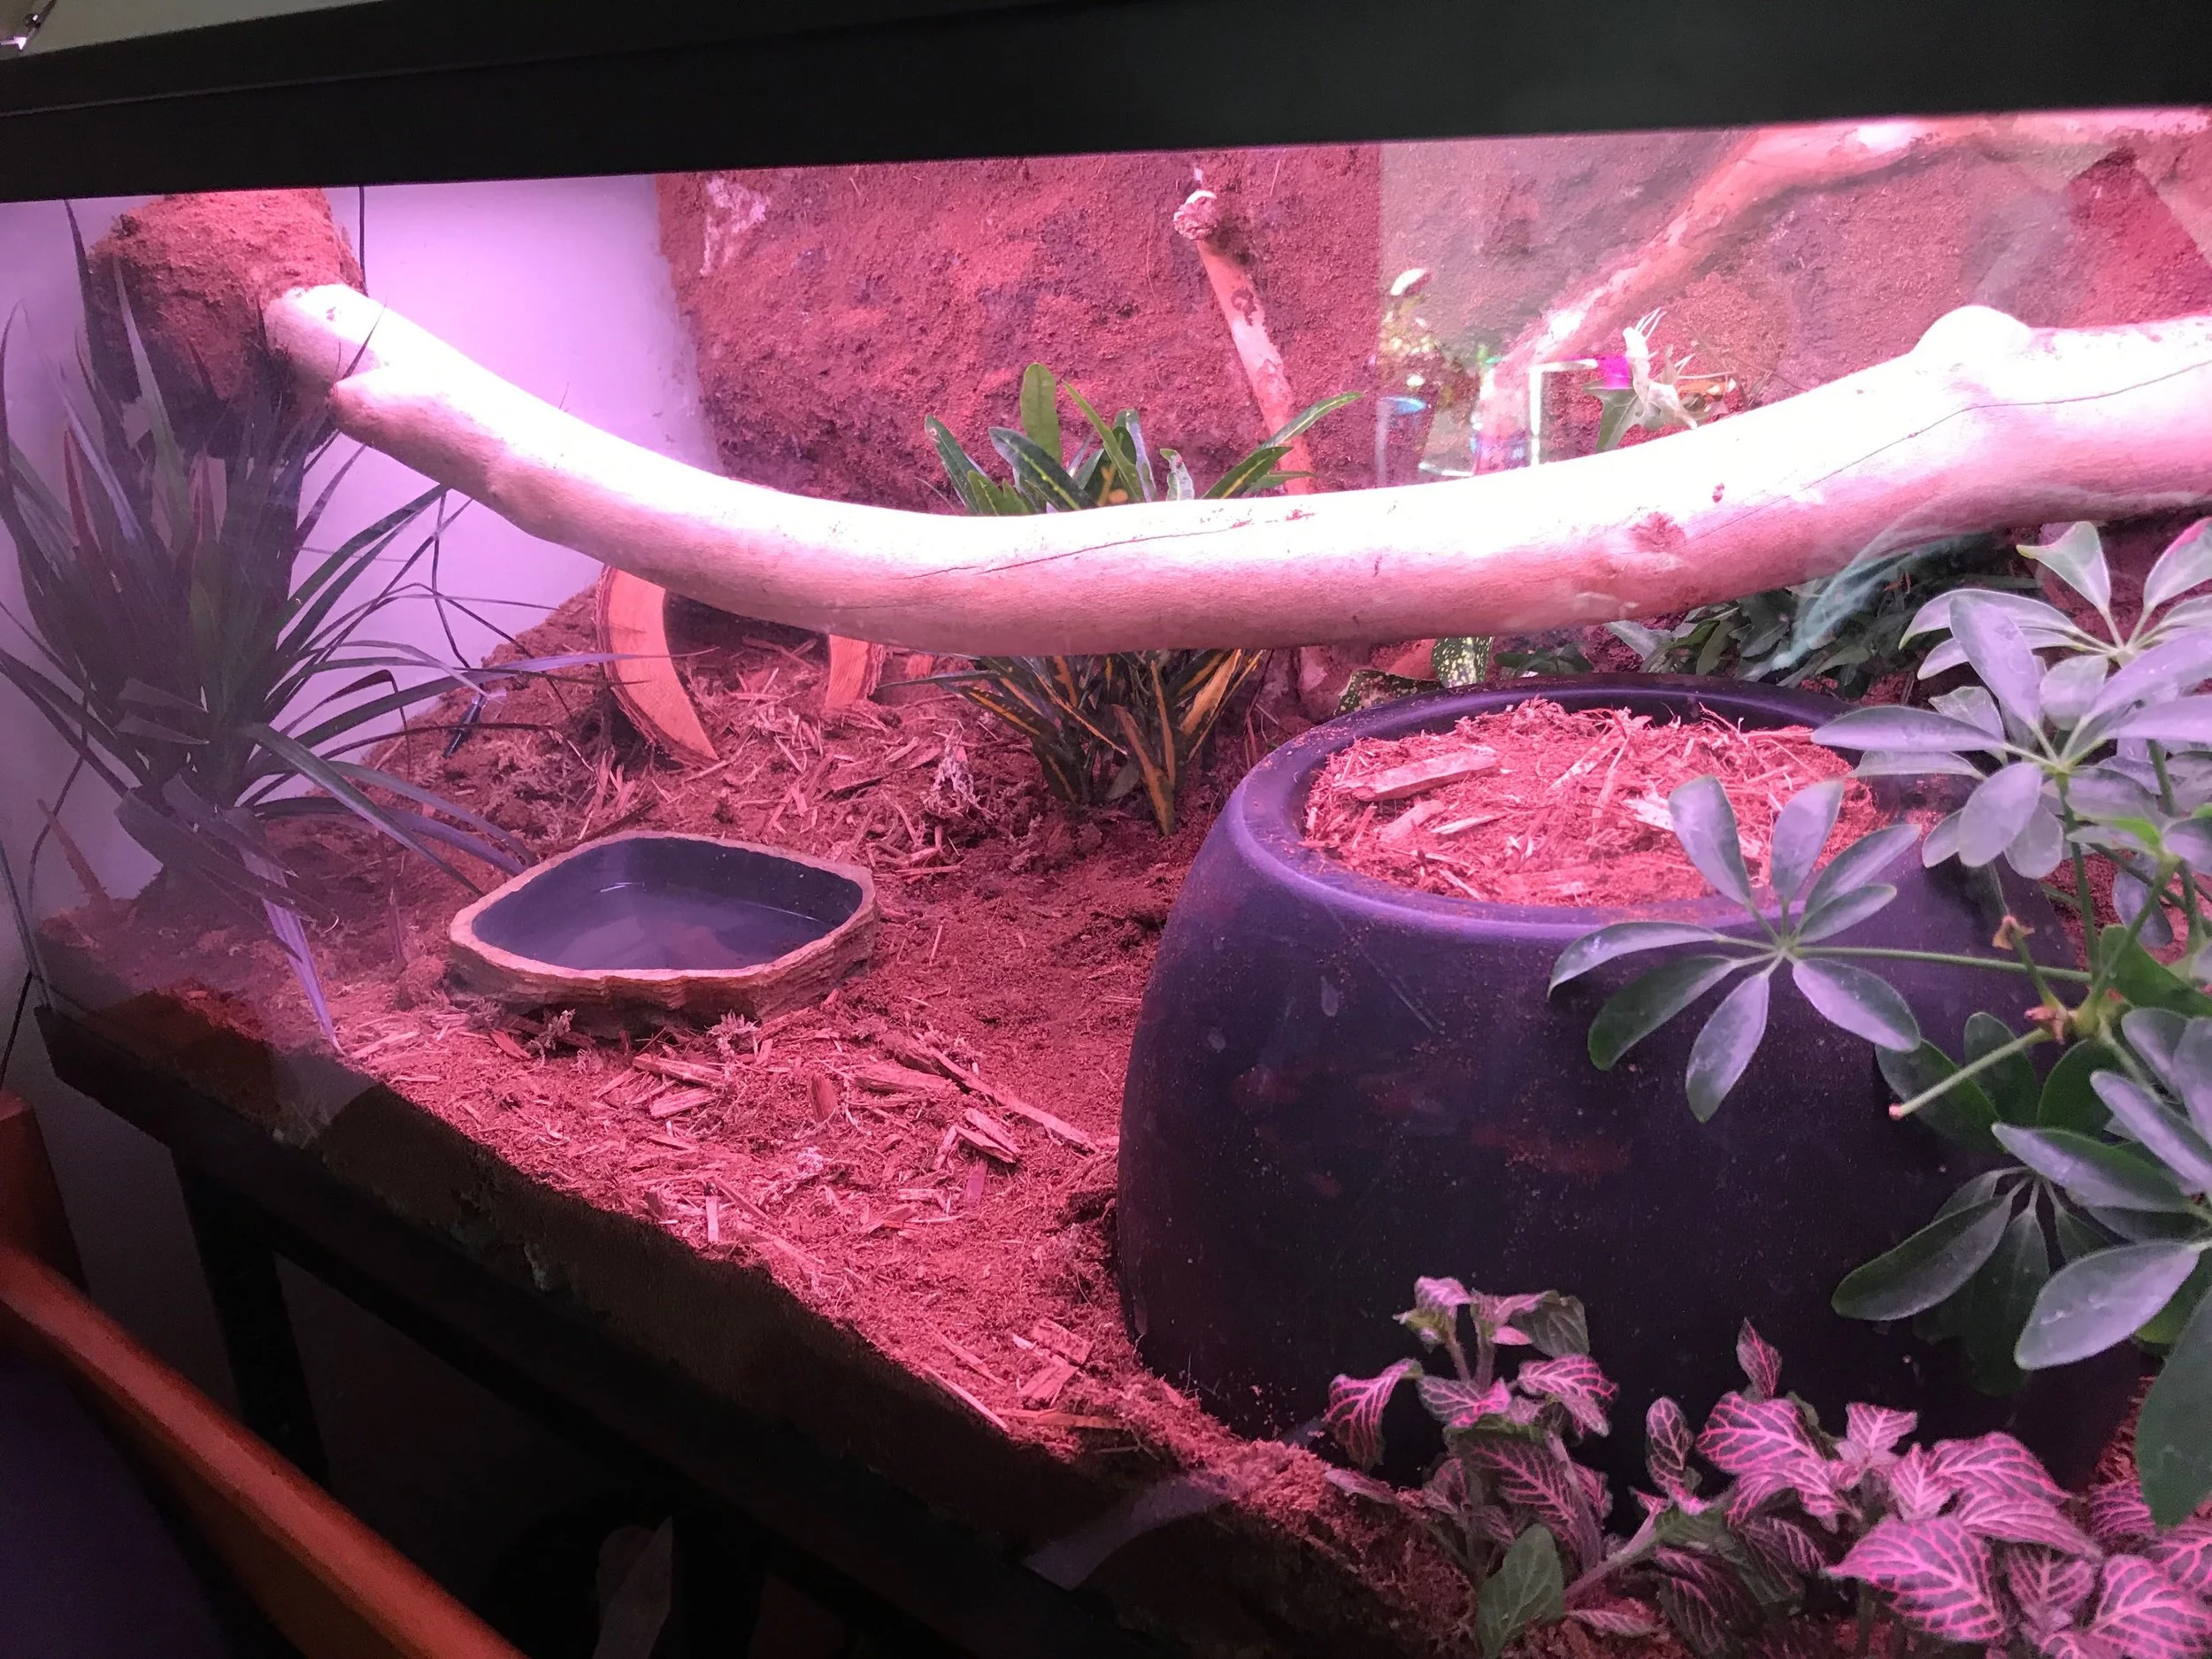
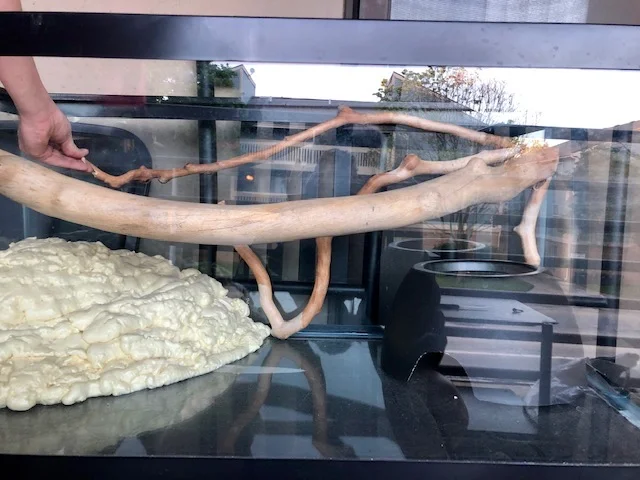
The first step in this process is to come up with your vision on how you want your tank to look. Do you want sticks protruding around the tank? Do you want plants growing out of the back? Consider what kind of reptile you will be housing in it, is it arboreal? Maybe you want a bunch of sticks in that case. Just play around with ideas. We decided to do a rough sketch of how we wanted the setup to look and I would definitely recommend this as it helps put your image into perspective. Once you’ve decided what you want and where (generally), it’s time for step two.
Step 2: Gather your supplies
So now that you know what decorations you want for your tank, it’s time to go get them, along with the rest of your supplies. If you’ve decided to include sticks in your design, you have a couple of options. Most reptile stores and pet stores in general sell decorative sticks for tanks, however, these cost a bit of money and there’s always a cheaper way to do it...forage for your own sticks. Yep, this is what we did and we found some awesome ones for our tank. HOWEVER, finding your own sticks takes significantly more effort than buying them because you have to strip them of their bark and sanitize them before they are safe for your reptile. Although stripping them of their bark is not too hard and sanitizing them just includes baking them in a 250-300 degree oven for an hour. Also, make sure the wood you find is safe as some types of trees are toxic to reptiles. Now I know that sounds like a lot but If you do your research, you can find some beautiful sticks for free! Once you have collected your decorations, you can get the supplies for creating the back of the tank.
Sprayable foam for the back. We used the brand “Great Stuff” and got their “Big Gap Filler” option. You can find this at your local hardware store
100% all-purpose silicone and a caulk gun. Make sure the silicone DOES NOT say “mold-resistant” as these chemicals can be harmful to reptiles. You can also find this at your hardware store and we used the brand GE. The caulk gun is for spreading the silicone
Sticks and net pots for plants
A substrate such as Coconut Fiber. This is what we used to create a natural look in the back. You can find this online or at a pet store.
Gloves and masks. The silicone is extremely sticky and messy so spreading it without gloves is a terrible idea. It also smells like strong chemicals and we were gagging and coughing while applying it so masks are a smart choice (inhaling the fumes can cause respiratory irritation so be smarter than we were).
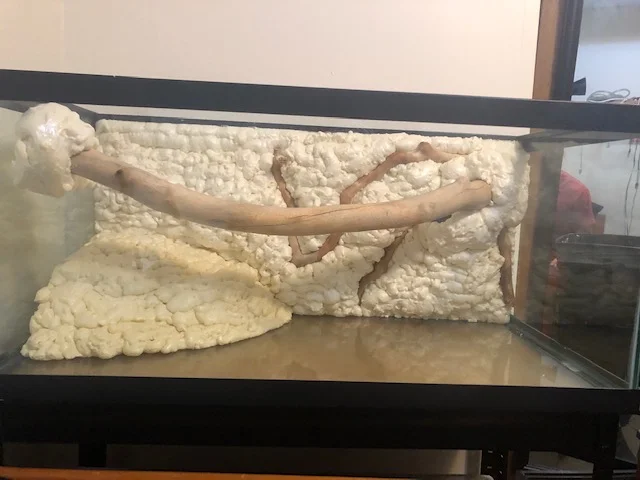
Step 3: Apply your foam
This step is by far the most satisfying. Something about spraying the foam over every inch of the surface was oddly therapeutic for me. So all it entails is to arrange all of your decorations the way that you want them laid out for your background and spray the foam all around them. If you get a little foam on your decor, that’s ok. You can carve it out later.
Step 4: Carve your foam
Once you have waited for the foam to dry ( takes about 8 hours) you need to carve down all of your foam so its shinier, smoother surface is no longer there. It should have holes throughout and feel rough like styrofoam once you are done. This is because the silicone sticks better to that surface. We use a serrated kitchen knife to cut ours. We first bought a spackling knife for the job but it didn’t work very well as it wasn't sharp enough to pierce through the foam. So since you’re using knives here, it probably goes without saying but please be careful. Also, this step is why I mentioned a bigger tank being easier for this project as it could be hard to get your knife in there and manipulate it around to do your carving.
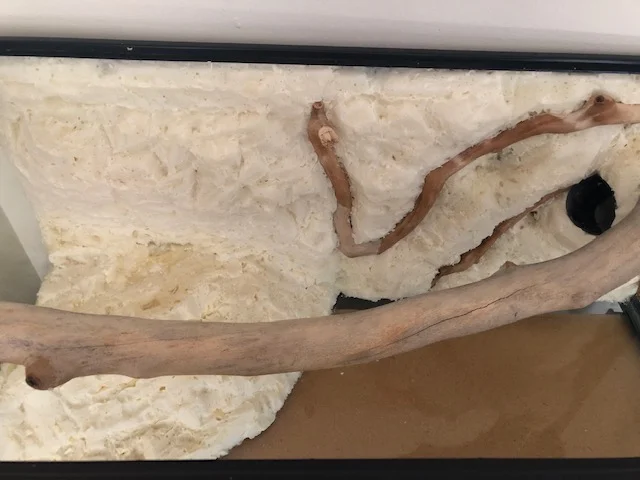
Step 5: Spread your silicone and apply your substrate background material
This right here is the messiest step of them all. It’s also your last step though so you’ll probably have your finished product after this. You are definitely going to want your gloves and mask at this point because, as I said before, the smell is atrocious. So you’re going to put your silicone into your caulk gun and begin spreading it around all over your foam. Make sure to really get into those little bubbles and all of the little cracks, and again don’t worry if you get some on your sticks or decor. You can scrape it off later. Now it is VERY important to act fast when spreading the silicone and getting your substrate on it because if you wait too long, your silicone will start to dry and the coconut fiber (in our case) won’t stick. You can see that this happened to us in our picture, and I circled it in the second in case it isn’t clear. After we let our silicone cure (takes 24 hours) and flipped the tank right side up, large chunks of the coconut fiber fell off (R.I.P.) and a lot of the foam was still exposed so we had to do touch-ups. Because of this, I would recommend this part as a two-person job, especially if your tank is bigger. That way one can squeeze and spread the silicone and the other can press the coconut fiber into it behind them.

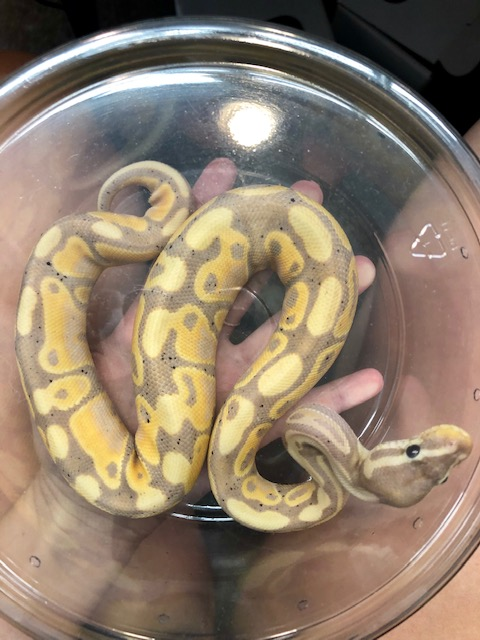
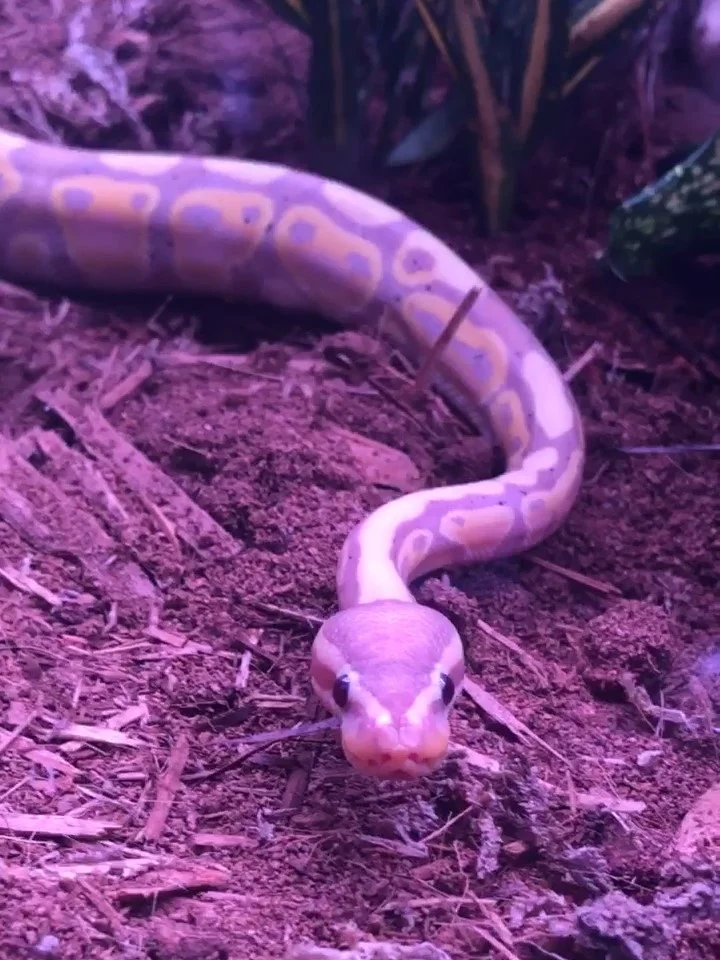
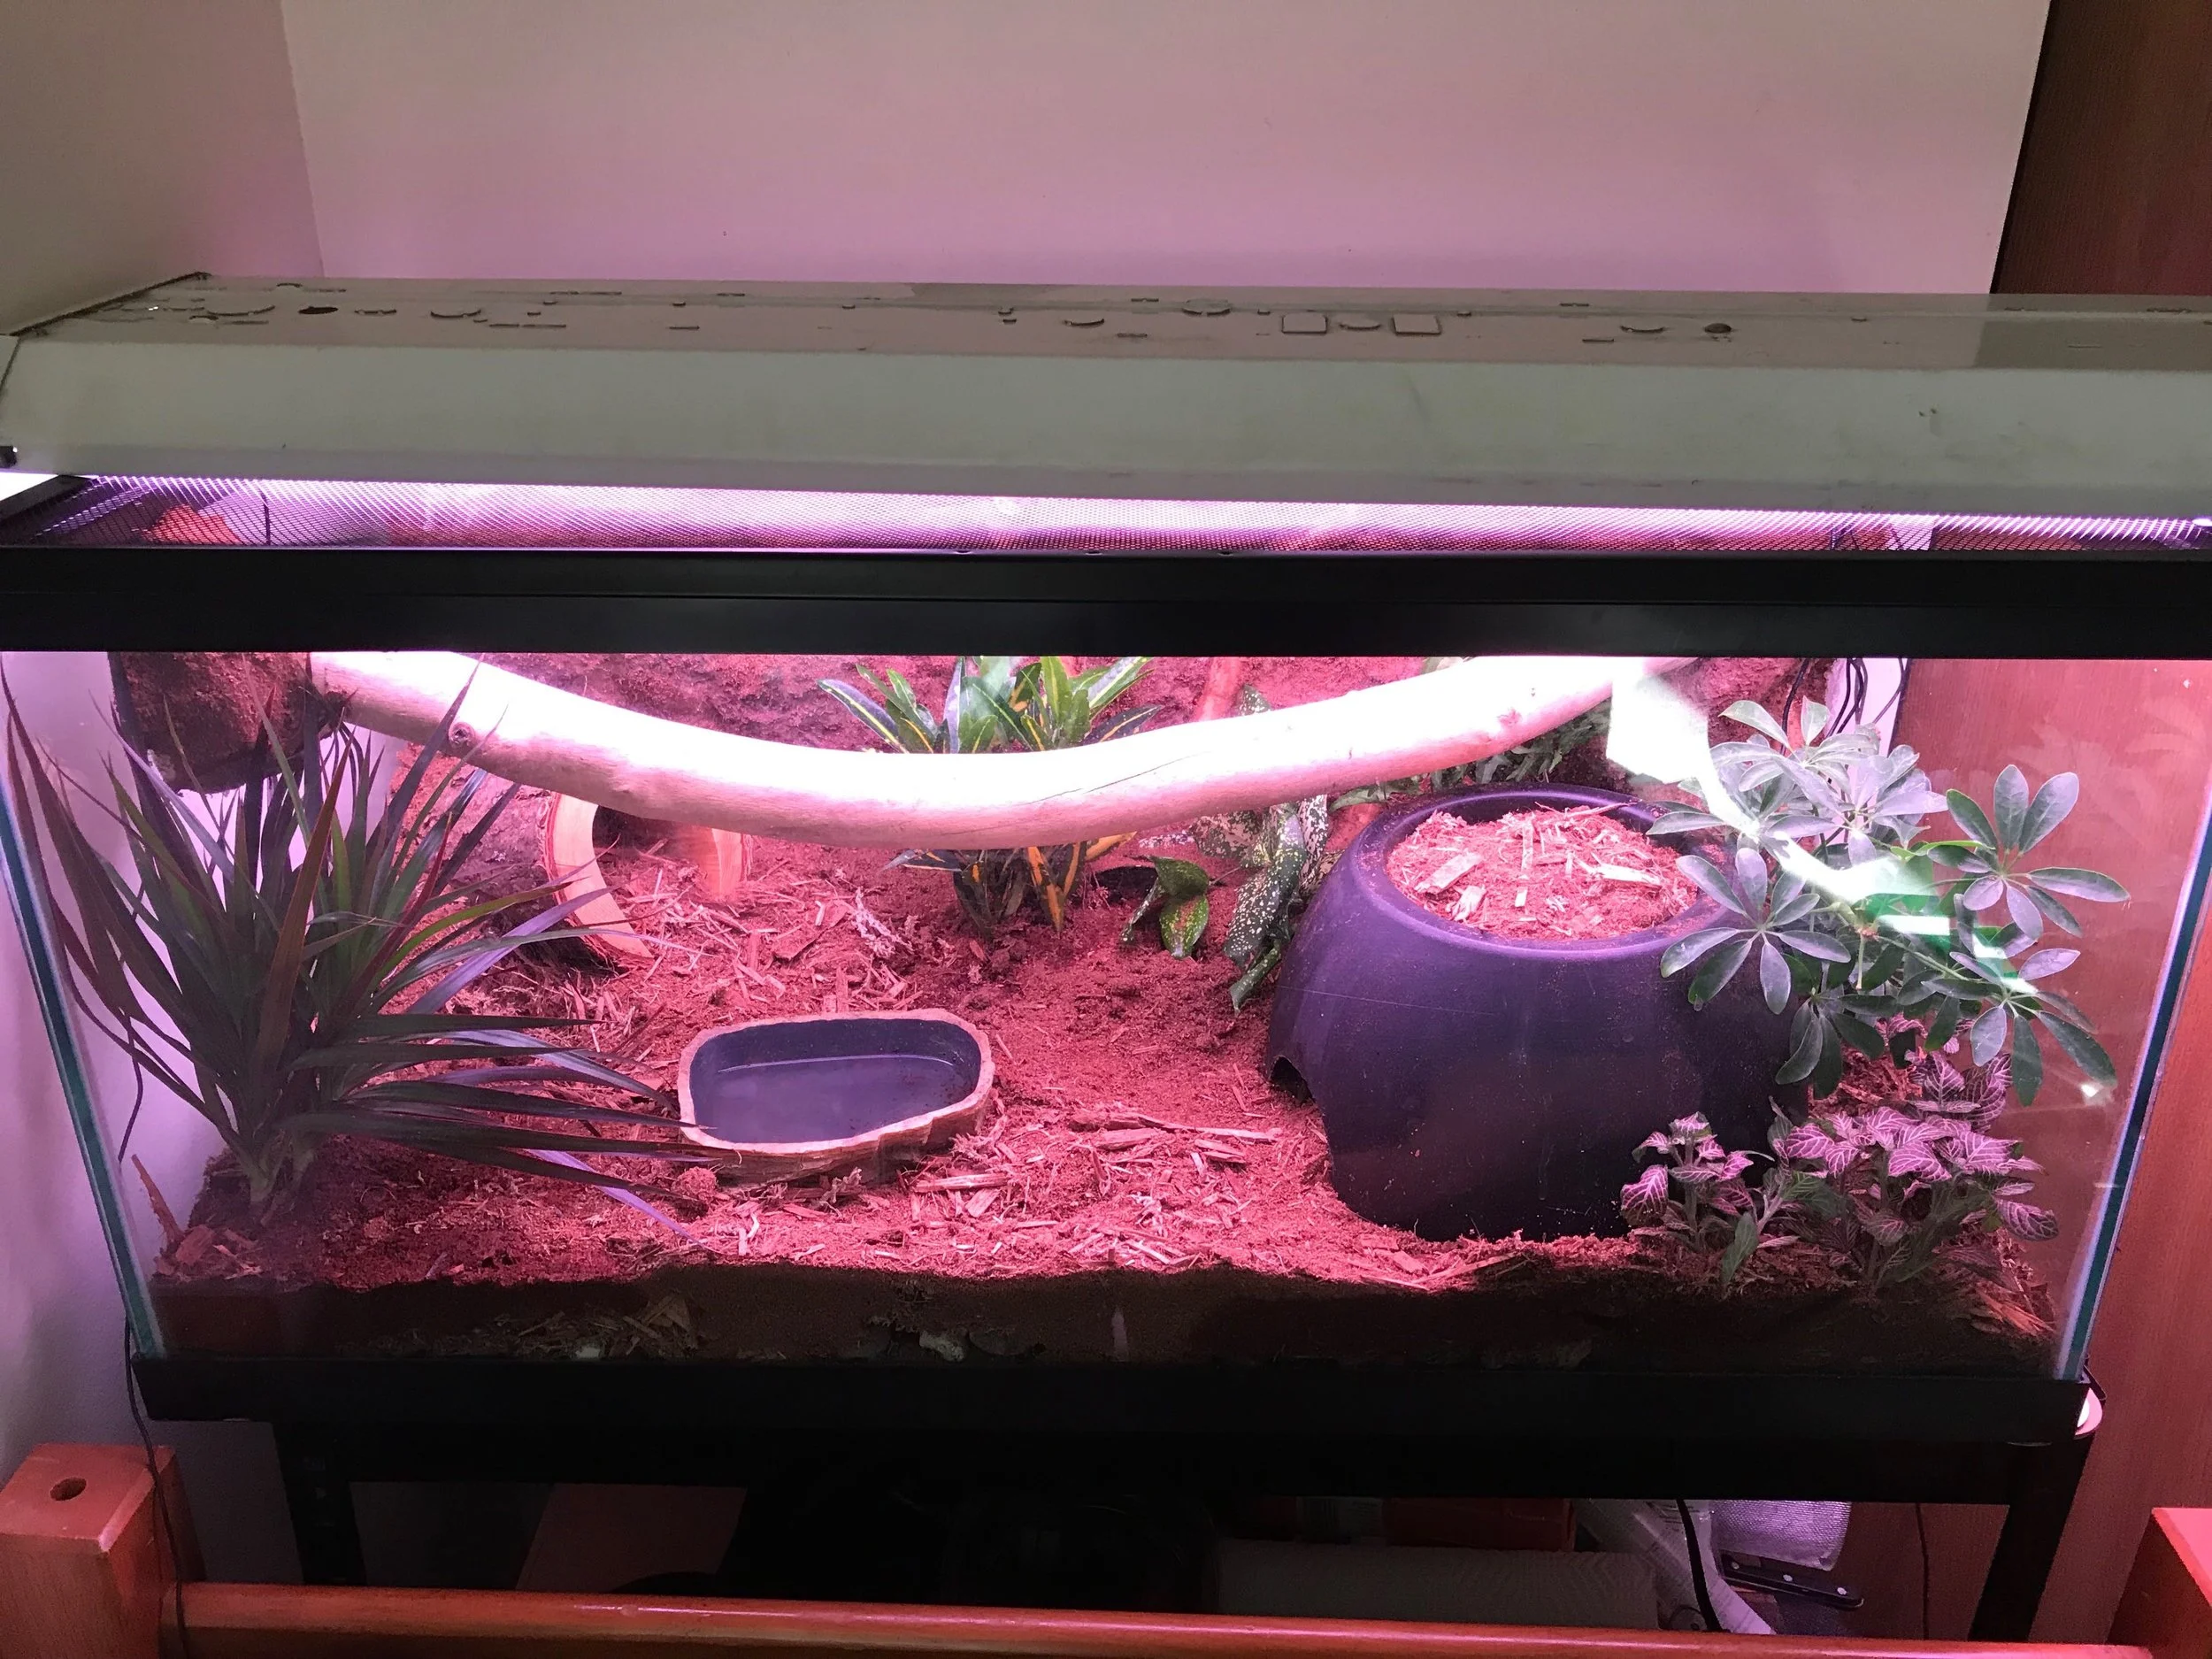
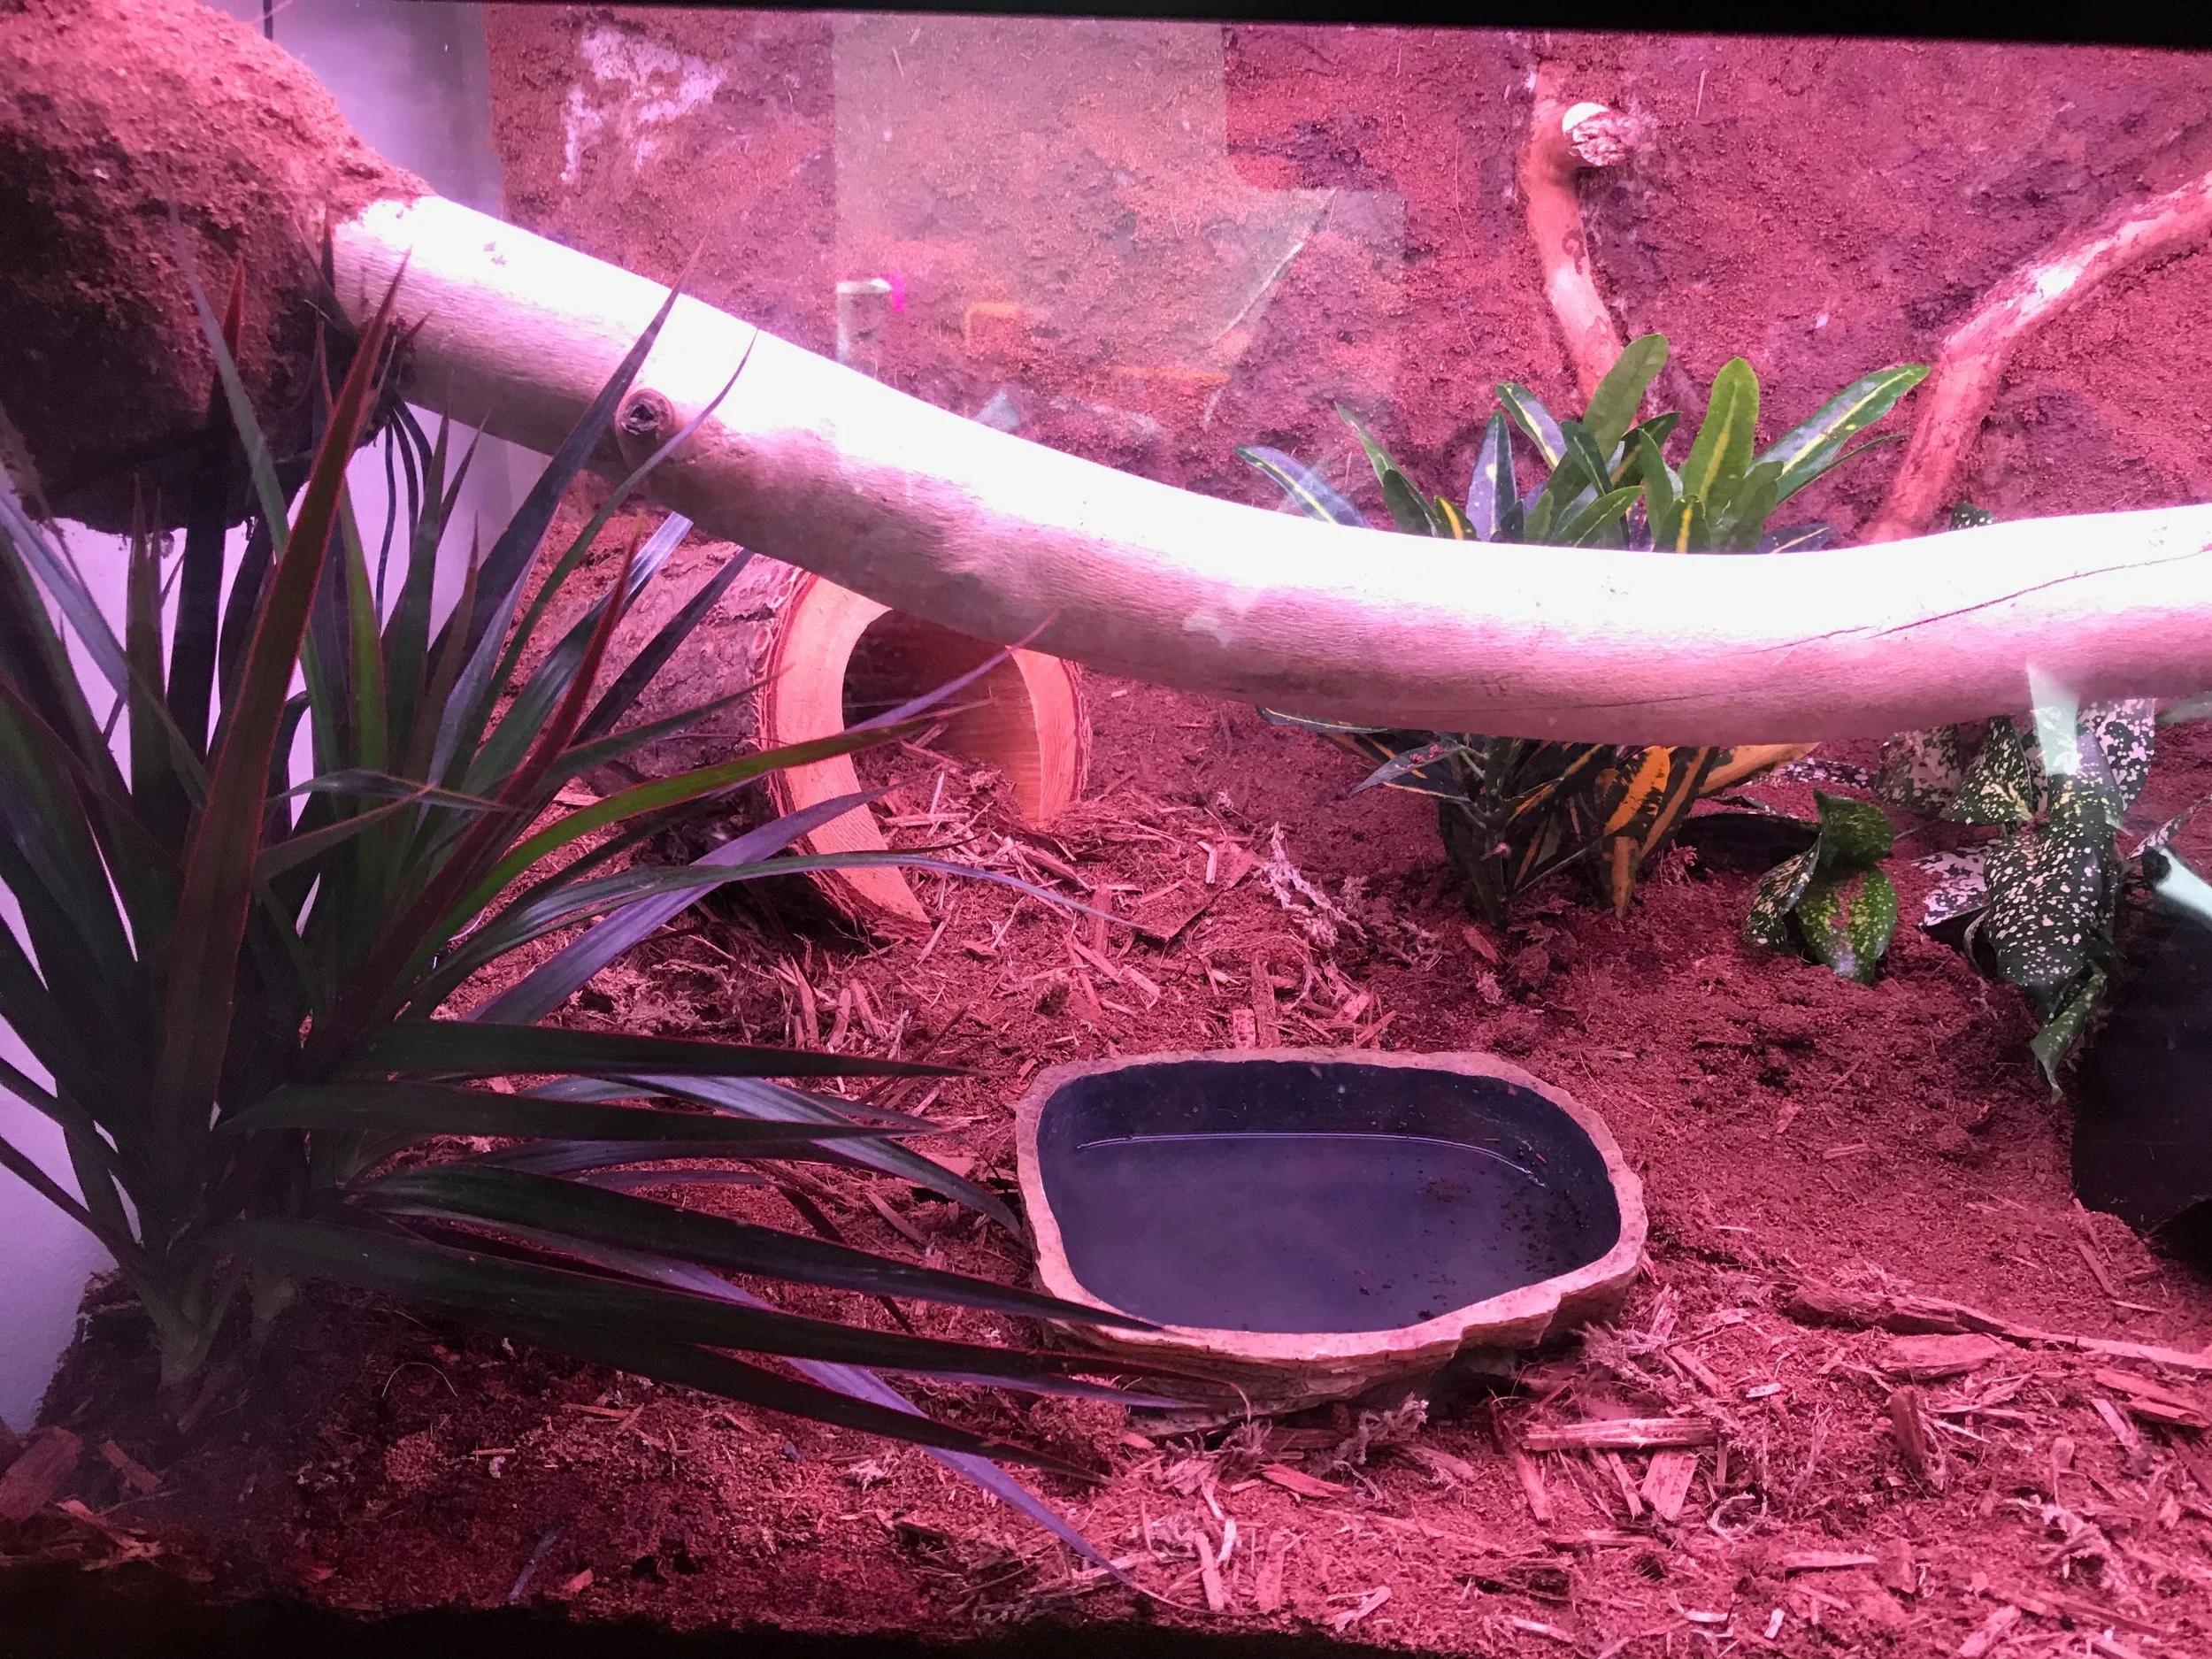
And that’s the whole process! You should wait at least 24 hours before flipping your tank right side up so the silicone has enough time to cure. Then you can plant all of your plants and finish putting the substrate all over the bottom and VIOLA, you have a complete tank. Though we ran into some issues along the way, like the silicone choking us out and the coco fiber not sticking, all in all, the process was really fun. It’s nice to be able to make the tank whatever you want it to be for your animal. We did all of our touch-ups and let our plants take root for a couple of days and then we got a beautiful banana fire ball python to occupy it. His name is Jebediah and though he hasn’t told me himself, I’m pretty sure he rather enjoys his new home.
So that’s it guys! I hope you found this helpful and informative. While you’re here make sure to check out the homepage and the Automatic Reptile Feeder. Pre-orders are happening now! Bye :)